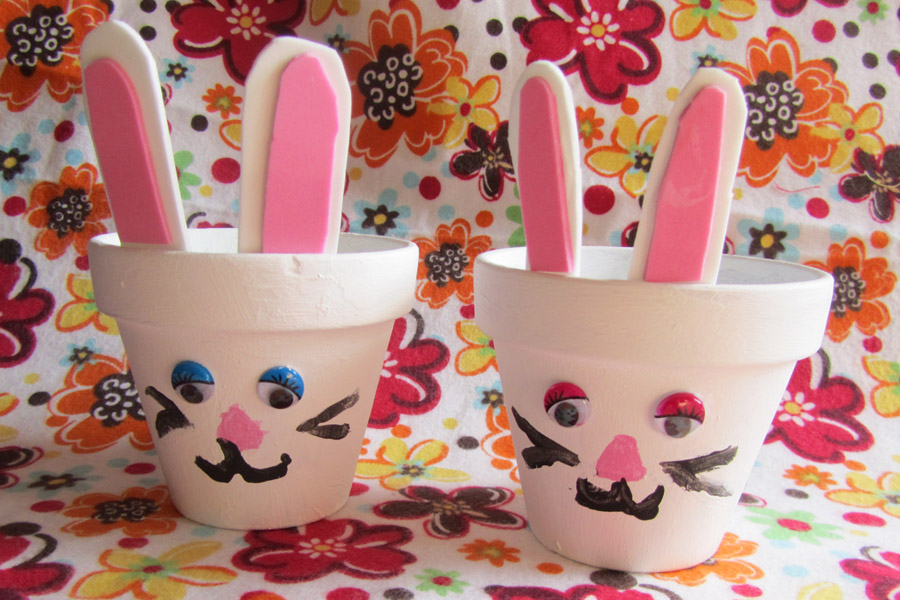
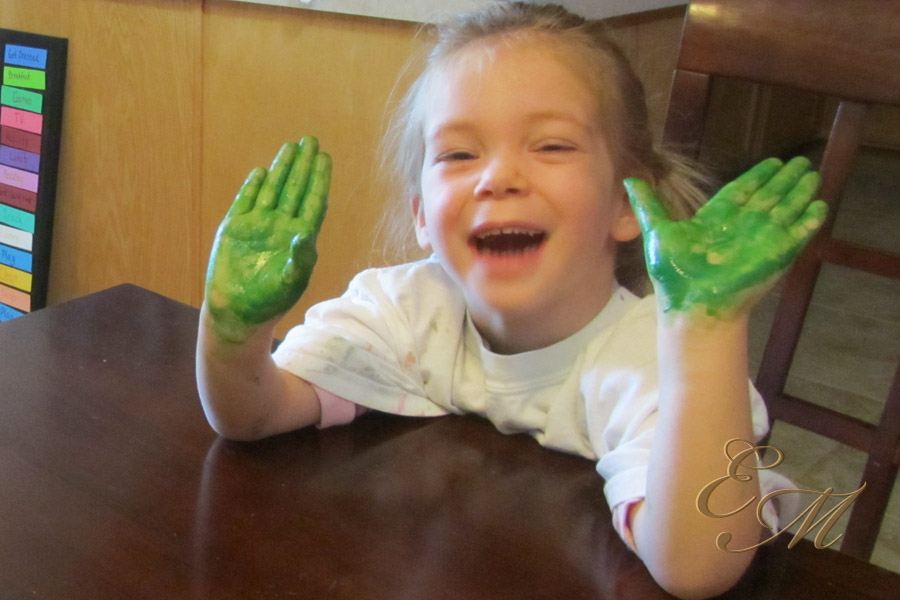
Spring break for Madeline and Delaney kicked off this year with a time change and is ending with the first day of spring. We’ve has gorgeous spring like days with sunny weather and warm temperatures. We also had snow and cold temperatures. Warmth and sun, quickly followed by snow and cold, followed by sun and warmth is all very typically Colorado spring time weather. With a time change, sun and snow, and the first day of spring all in one week we decided to celebrate springtime with a fun spring bunny craft.
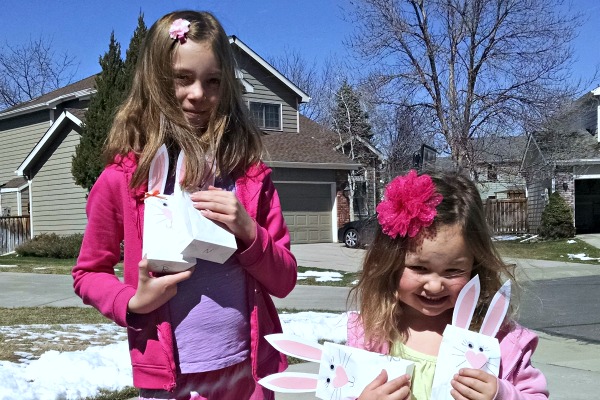
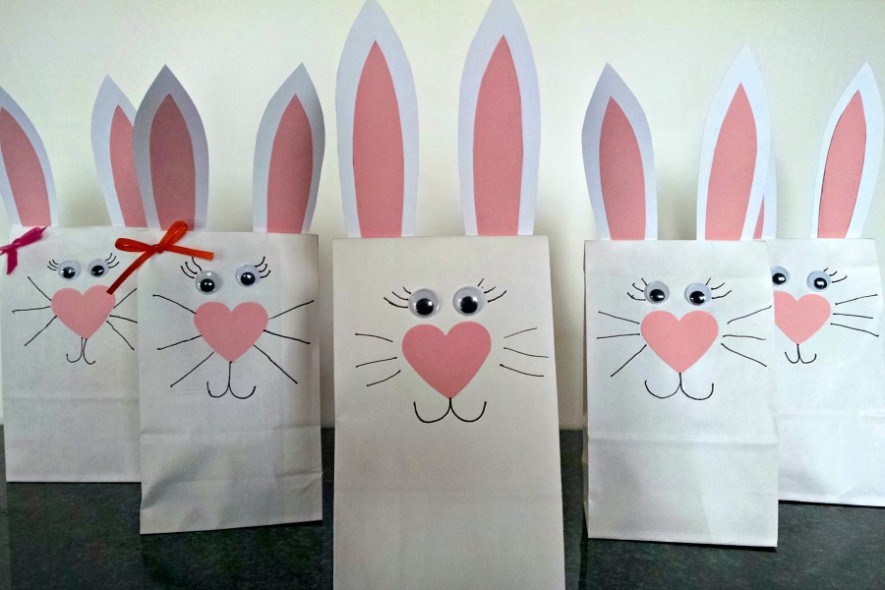
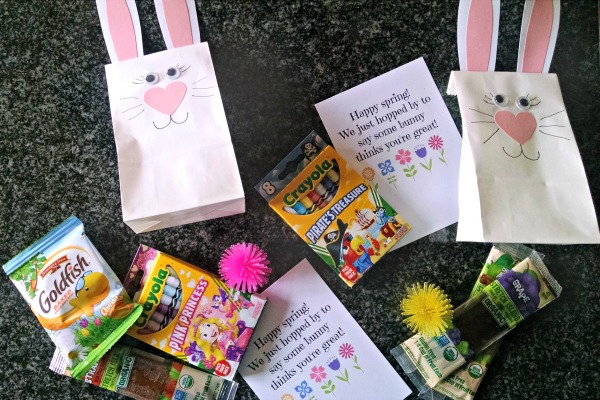
Delaney and Madeline made adorable bunny bags, filled them with fun little treats and then we delivered them like little spring bunny fairies to their friend’s doorsteps as a surprise.
The girls crafted together and then filled their bags with little things they had picked out at the store. Fun packs of crayons, balls, snacks, and a cute little note. Then came the sneaky part, which we nicknamed “Operation Hoppy Spring.” We’re silly and fun like that. We sneaked over to friend’s houses and placed the bunnies on their doorsteps for them to find.
This bags were fun to make, easy, and gave the girls an excuse to show their friends a bit of spring time love. I’ve included links to some of the items to make the bunnies in case you don’t have some of these craft items on hand. The links are affiliate links, which means if you click on the link and make a purchase Evolving Motherhood get’s a very small commission which goes towards creating fun ideas like this adorable spring bunny craft!
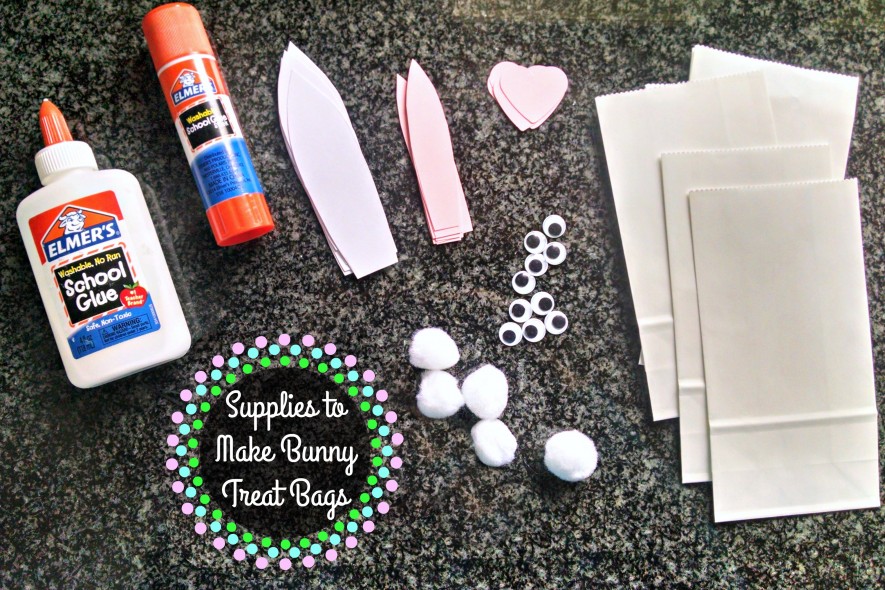
Supplies Needed to Make Bunny Treat Bags
Small white paper bags – like these
White and pink card stock – This paper pack has pink and white plus lots of other colors for future crafts
White pom poms –1-Inch size is great
Googly eyes
Glue stick – for gluing the paper pieces of the bunny
Tacky craft glue or School glue – for gluing the non paper parts of the bunny (we tried both and the craft glue worked best.)
Thin black marker or pen (We all know I’m a big time Sharpie fan so that’s what we used)
Clear tape
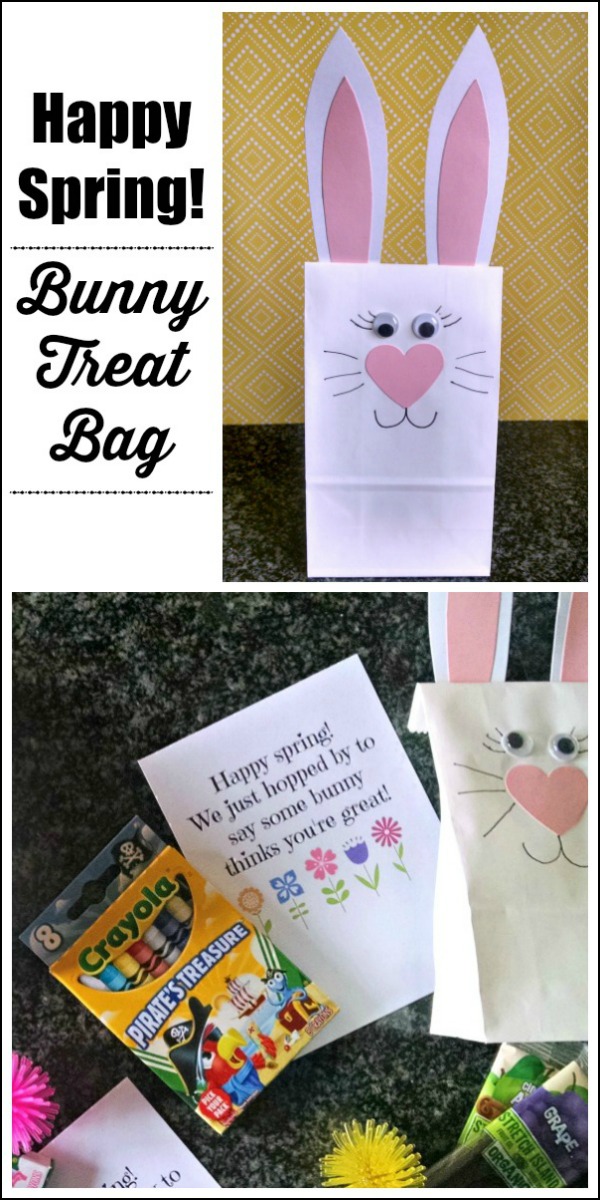
How to Make Cute Bunny Treat Bags
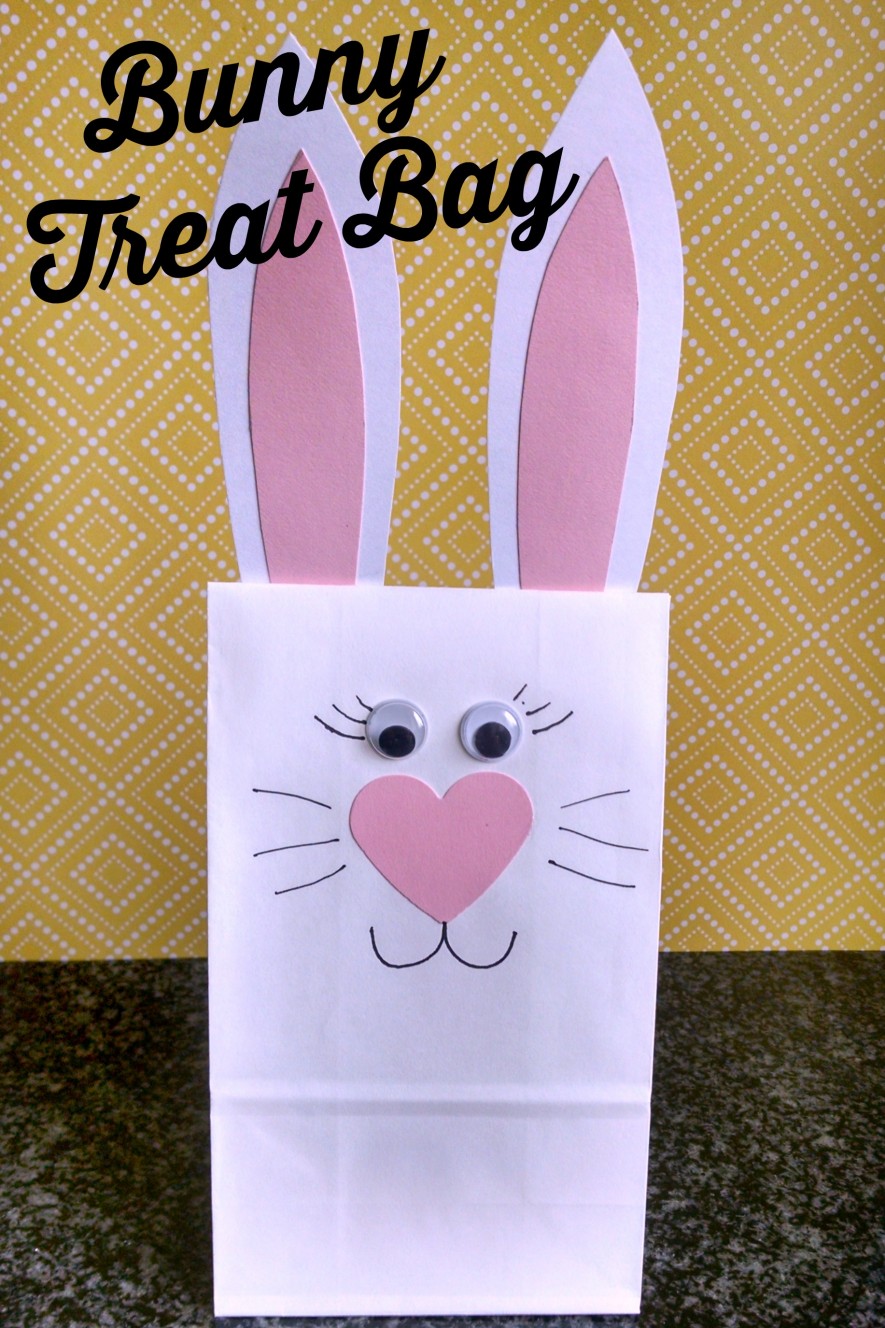
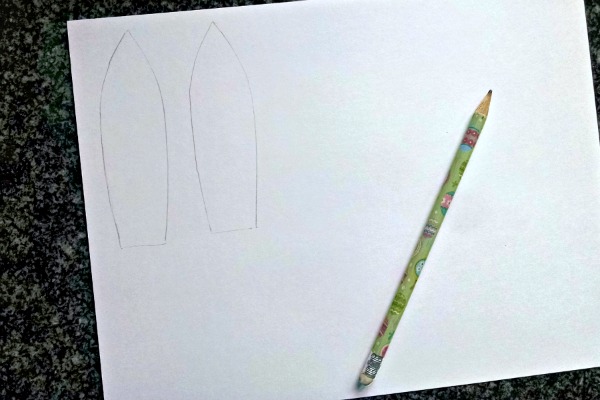
1. Prepare your pieces. Cut a set of large white ears and a small set of pink ears for each bunny you are making. I sketched out a large ear and small ear to cut out and use as a template so all the ears would be the same size and shape. Cut out hearts for cute bunny noses.
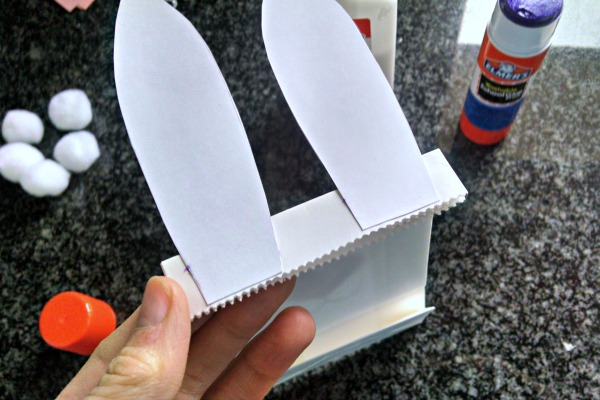
2. Glue one pink inner ear onto each white ear. Fold the top to the paper bag down about an inch and glue the bottom of the ears onto the inch of folded over bag so that the ears are on the back of the bag. Glue stick will work best for gluing on the paper pieces of the bunny.
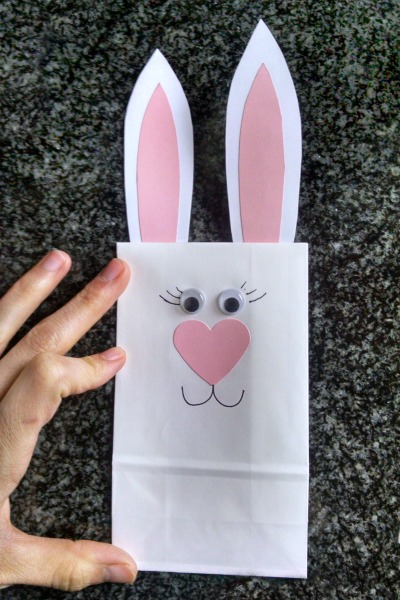
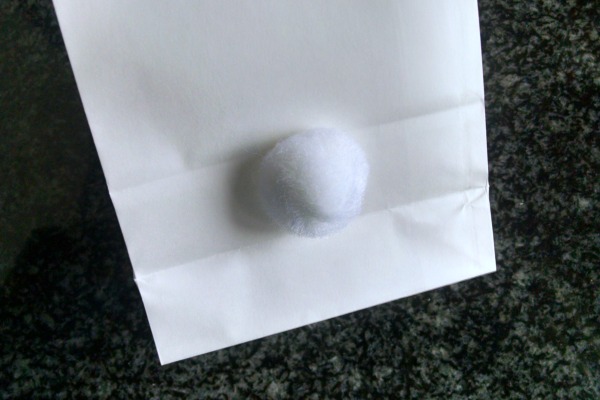
3. Glue on the eyes and nose. Draw on the whiskers, eyelashes, and mouth. Glue the pom pom onto the back to give your bunny a cute little fluffy bunny tail.
4. Fill your bag with goodies including the “Happy spring! We just hopped by to say some bunny thinks you’re great!” note. I’ve made a “Some bunny thinks you’re great!” printable for you so all you have to do is download it and print!
5. Once you’re bag is filled with fun stuff fold the top closed and use a bit of tape to keep the top closed – therefore keeping your goodies inside -and keeping the ears nice and upright.
Who would your kids make this spring bunny craft for? I’m sure they could think of more than a few people to surprise!

