Valentine’s Day is nearly upon us. I know some of you, along with my husband, may think Valentine’s Day is silly. I however do not. Valentine’s Day might be a made up holiday but when it is ever a bad thing to show the people you love just how much they mean to you. I know that is something we should so year round, but let’s be honest Valentine’s day is a great reminder to share love with the wonderful people in your life.
Maddy has been crafting her little heart out lately preparing for Valentine’s Day. She’s made a “Hoppy” Valentine’s Day Frog, adorable Valentine’s Day Heart Flowers and now a whole lot of love bugs.
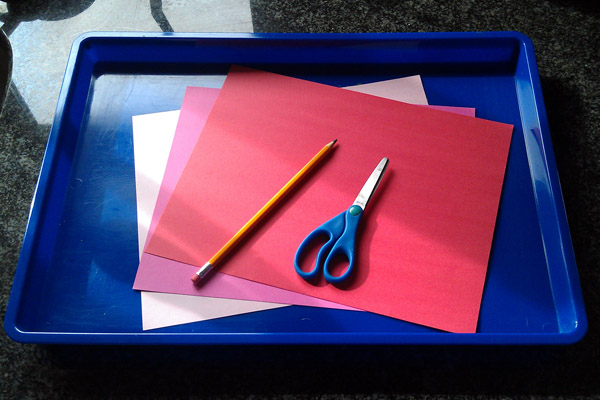
Supplies needed to make love bugs:
- Craft foam or construction paper
- heart punch about 1 1/2 inches wide (you can also draw and cut out hearts with scissors.)
- Scissors
- Pen
- Puff paint, Glitter Glue, or Markers
- Craft Glue
- Googly eyes
- Pipe cleaners
How to make a Bee Love Bug:
Step One: Cut or punch out two black hearts, two white, cream or peach colored hearts and one yellow heart.
Step two: Place a dot of glue on the bottom tip of one of the black hearts. Lay the yellow heart on the glue so that it is covering about half of the black heart. Next add of dot of glue to the tip of the yellow heart and lay the remaining black heart on the glue covering about half of the yellow heart. The result should look like a black and yellow striped bee body.
Step three: Once the glue on the bee body dries enough to handle it glue the remaining white, peach or cream hearts onto the body as wings. We glued one wing on the first and second hearts on the bees body.
Step four: Glue an eye onto the bees face. Maddy and I had quite the in-depth discussion about whether the point end of the bee should be the face or the stinger end. Maddy was sure the pointy end should be the face so that is how we did it, although I’m certain there is no wrong answer to this question.
Step five: Using the puff paint, glitter glue or markers draw a smile onto your bee.
How to Make a Butterfly Love Bug:
Step one: Cut or punch out 5 hearts. You should have 2 of one color and 3 or another. Then draw and cut out two larger hearts about 2-inches wide and 2 1/2 inches tall. Make sure to use three different colors to all the different parts of the butterfly really stand out.
Step two: To make the butterflies body line up the three hearts of the same color. Put a dab of glue on the point of the first heart in line. Lay the second heart on the glue covering about half of the first heart. Repeat with the remaining heart.
Step three: Put a dab of glue in the middle of each large heart. Glue the two remaining small hearts onto the large hearts.
Step four: Once the body and wings are dry enough to handle lay the large hearts down with the pints facing each other. Dot glue on the the tips and then lay the butterfly body on the glue. Set aside until the glue is dried.
Step five: Using a short piece of pipe cleaner attached antenna to the back of the butterfly’s head. Glue Googly eyes to the face.
Step six: Decorate the butterfly with puff paint, glitter glue or markers. Also give the butterfly a happy little smile.
We had some much fun making our bees and butterflies we decided make a caterpillar love bug and a lady bug love bug too. Girls with lots of little foam hearts, glue, glitter paint, and creativity cannot be stopped. We simply must make more cuteness than we can handle I tell you.
I think this guy is my favorite. He’s just too cute not to love.


5 comments
We have a ton of heart shaped foamies!! I know what we’re doing this week! Thanks!!
[…] This post was mentioned on Twitter by Moms Who Blog, Catherine . Catherine said: New Evolving Mommy: Valentine’s Day Craft: Love Bugs http://goo.gl/fb/8dJiS […]
Wow! How CUTE are these! 🙂 Love them (and cute tutorial pictures too!)
Adorable! Great craft ideas!
[…] Her post actually features four separate projects but the one that we liked the most was the Valentine’s Day Love Bug craft […]