The other day it occurred to me that we’ve been so busy that the girls really haven’t had a lot of craft, art, creative time lately. They were gone for the day so as I went about my tasks for the day I brainstormed ideas. I was in the mood for a fall themed activity. I don’t just love fall for the boots, scarves, and sweaters. Or for the pumpkins, apples, and pears. Ha! I love it for the colors and textures too. Fall is my favorite.
While putting a few things away in Madeline’s room an art project we’d done a while back caught my eye. The painting project was a series of black circles covering a sheet of paper overlapping and randomly placed making for lots of slivers and sections. Madeline had filled each sliver and section with a variety of colors making a beautiful geometric piece of art. Instantly, the leaf-shaped cookie cutters sitting in a bin in my kitchen came to mind. From there the idea was born.
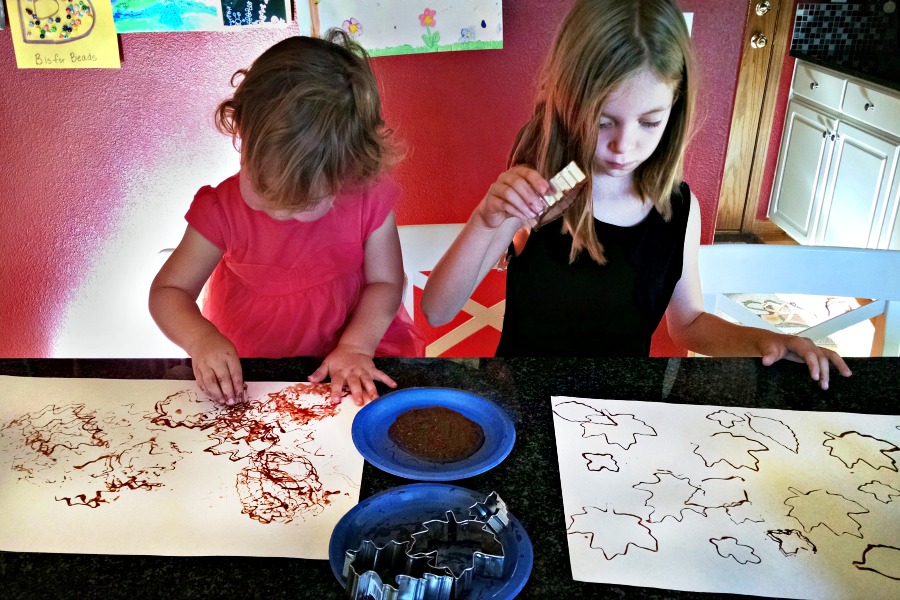
The other day after school the girls and I got to work. And by work I mean we made a mess and had a lot of fun. I don’t often do whole art projects, crafts, or activities I share here with you. They are usually purely for the girls to have fun with, but this time I just couldn’t help myself. This project was a great way for us all to work side-by-side. We all had a similar starting point but different – and equally lovely – ending points. We had a lot of fun and all three of us felt included so this is definitely an activity you can tweak for different age groups. If I were to just do this with Delaney I would just stamp the leaves in fall colors as you’ll see we did below. A preschool or pre-K version might be to stamp the leaves, let them dry, and then color them in with markers or crayons. If I do this particular activity with Madeline again I might encourage her to add a bit more detail or texture to the leaves next time to continue to challenge her.
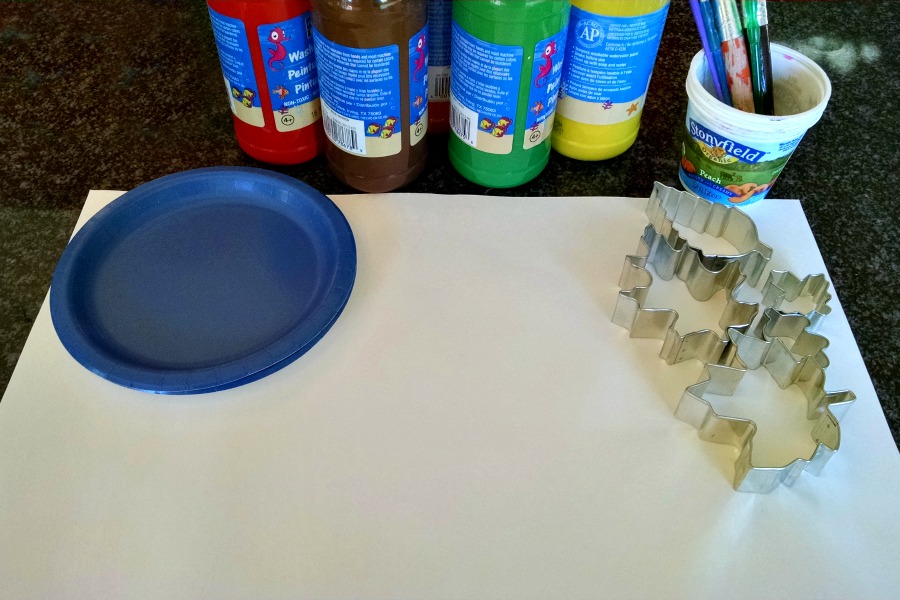
Materials needed to make a fall leaf cookie cutter painting
Leaf shaped cookie cutters
White construction paper
Paint
Paint trays or paper plates
Paint brushes
How to make Fall Leaf Cookie Cutter Paintings
Step 1. Pour paint into paint trays or paper plates. We decided to use brown as our outline color although what color(s) you chose is entirely up to you. Dip the a cookie cutter into the paint and then stamp it onto the paper in whatever pattern or non pattern appeals to you. Overlapping leaves look great when their filled in. Once you’re done stamping the leaves set the paper aside to dry. It shouldn’t take long.
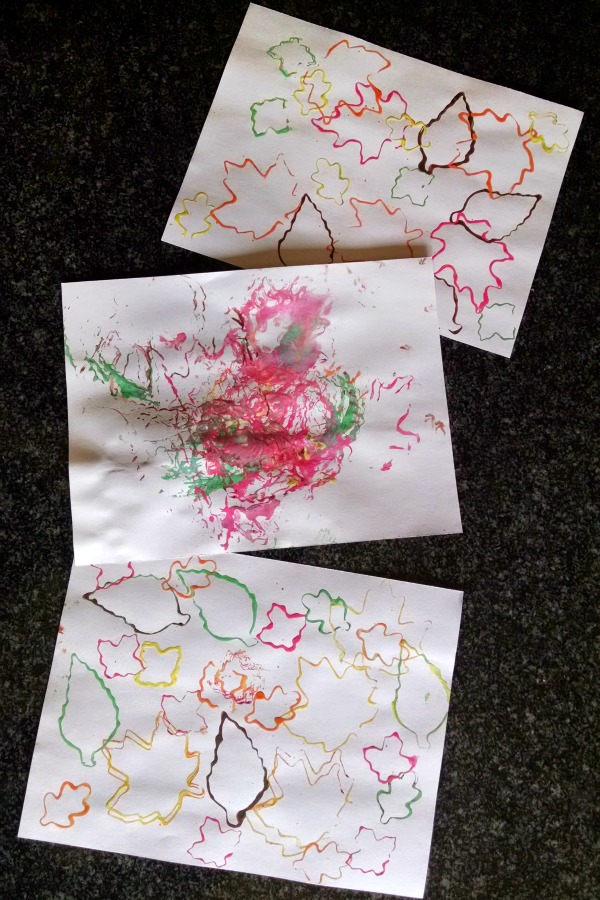
This is when we went crazy and decided to pull out more paper and stamp leaves in all the colors. I love the way the colorful leaf stamps look like they’re drifting around on the page.
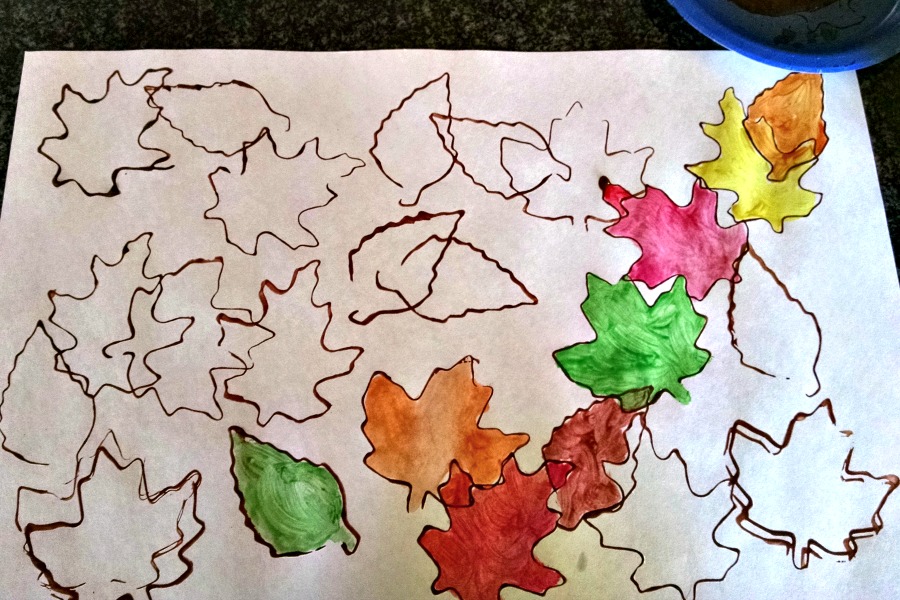
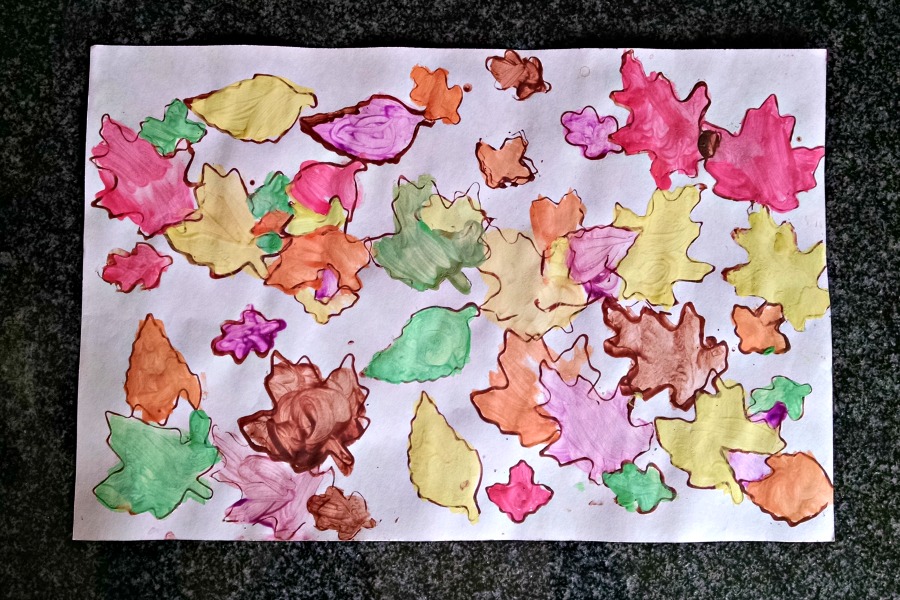
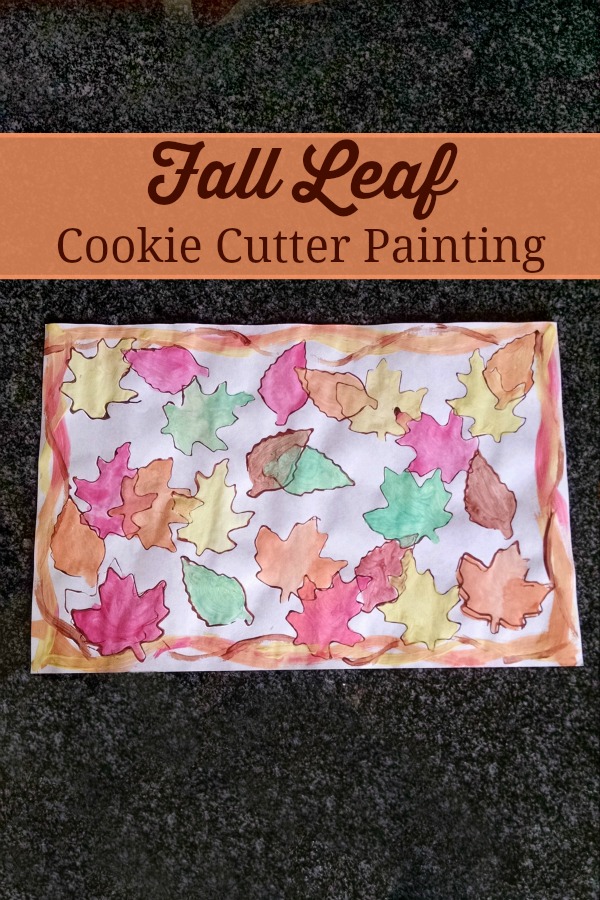
Step 2. Once the stamped leaves have dried use paint brushes to fill in the leaves with fall colors. There are no rules to this. I chose to blend the two main leaf colors to fill the space when two leaves overlapped.
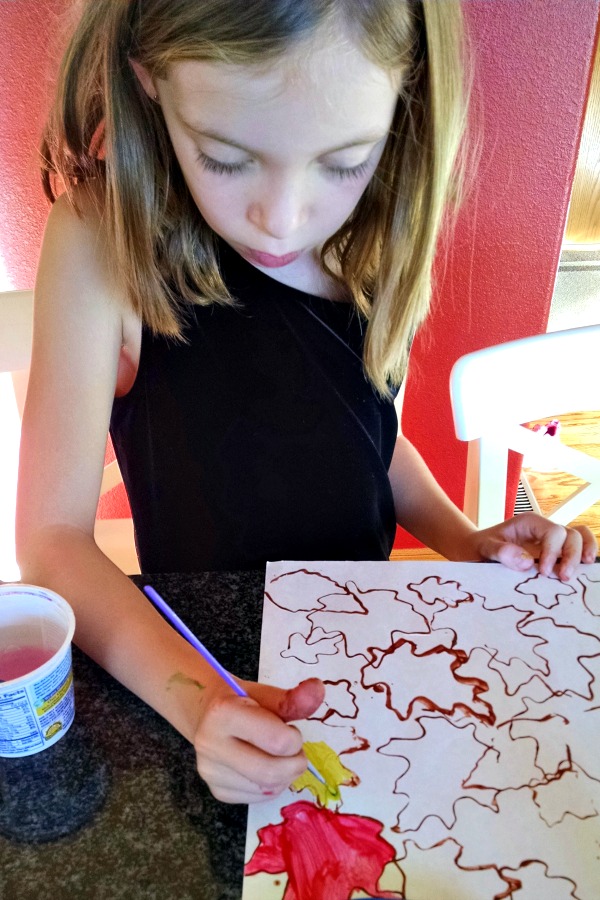
Madeline chose to fill in individual spaces in whatever way she wanted.
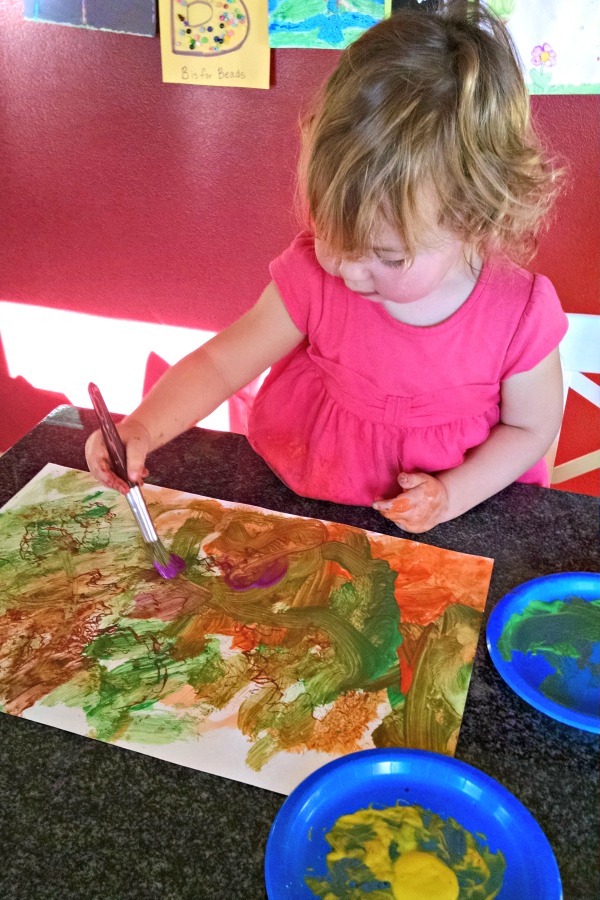
Delaney chose to cover all the stamped leaves and her entire page in as many layers of paint as possible. Two-year-olds are fun.
Step 3. Set the festive fall-colored painting aside to dry.






2 comments
Such a clever idea!! Love their paintings!
Thanks, Diana. Their paintings are bringing fall into our house without the mess.