It’s almost garden season here in Colorado. It’s also coming up on Mother’s Day. Somehow gardening and mothering seem to go hand in hand. Maybe it’s how close they are on the calendar. The general rule of thumb of planting summer veggies in Colorado is May 15th, but a lot of people use Mother’s Day as a guide too. Maybe gardening and Mother’s day go together because tending a garden is a lot like tending children. Both gardening and mothering require patience, caring, and a level of resiliency when thrown curve balls. Maybe gardening and mothering partner to well because I’m happy to put homemade gifts from my kids all over my house and I’m happy to put homemade gifts from them in my garden too. A crooked clay pot for the mantel? The mantel has been cleared and prepped for it’s arrival. A set of decorative garden markers? Yes, please, and thank you.
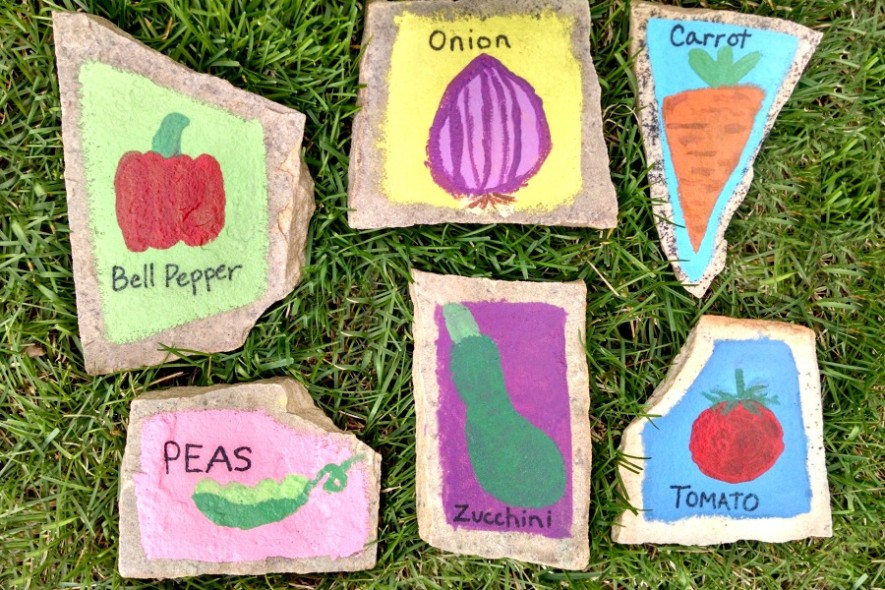
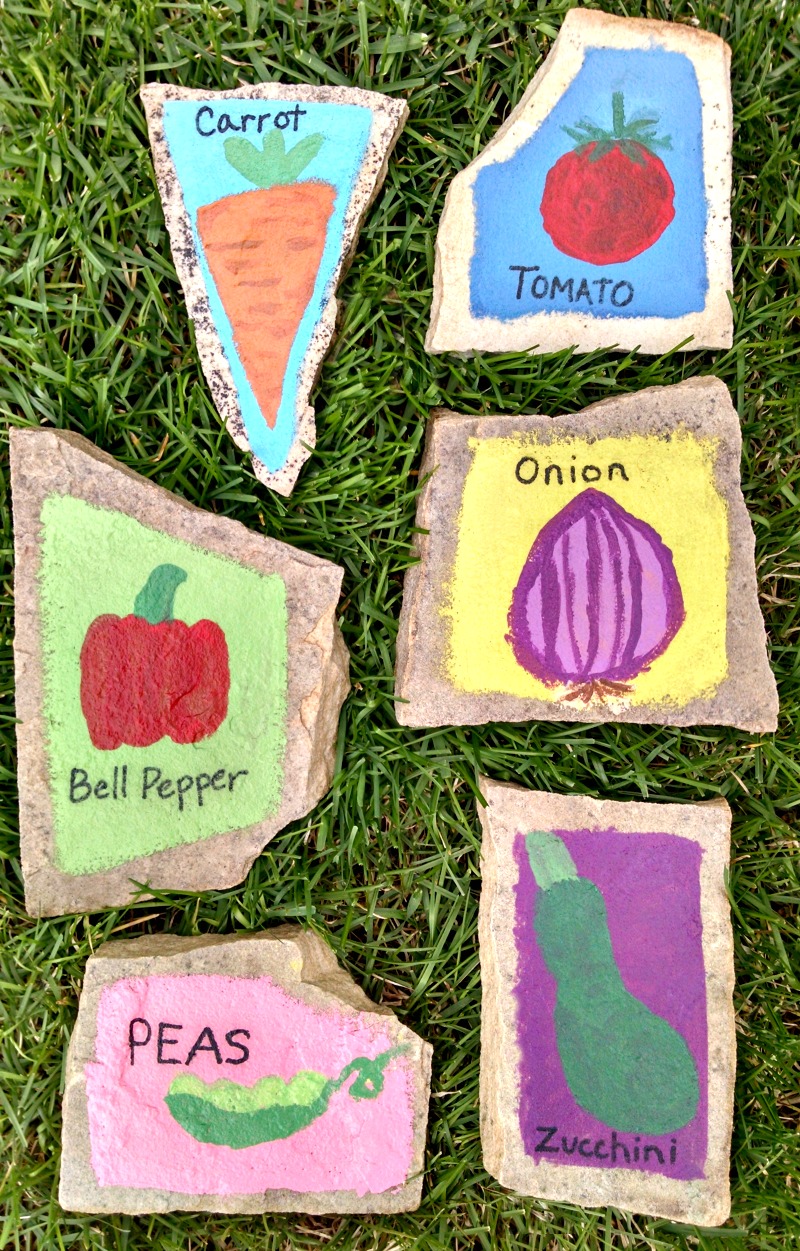
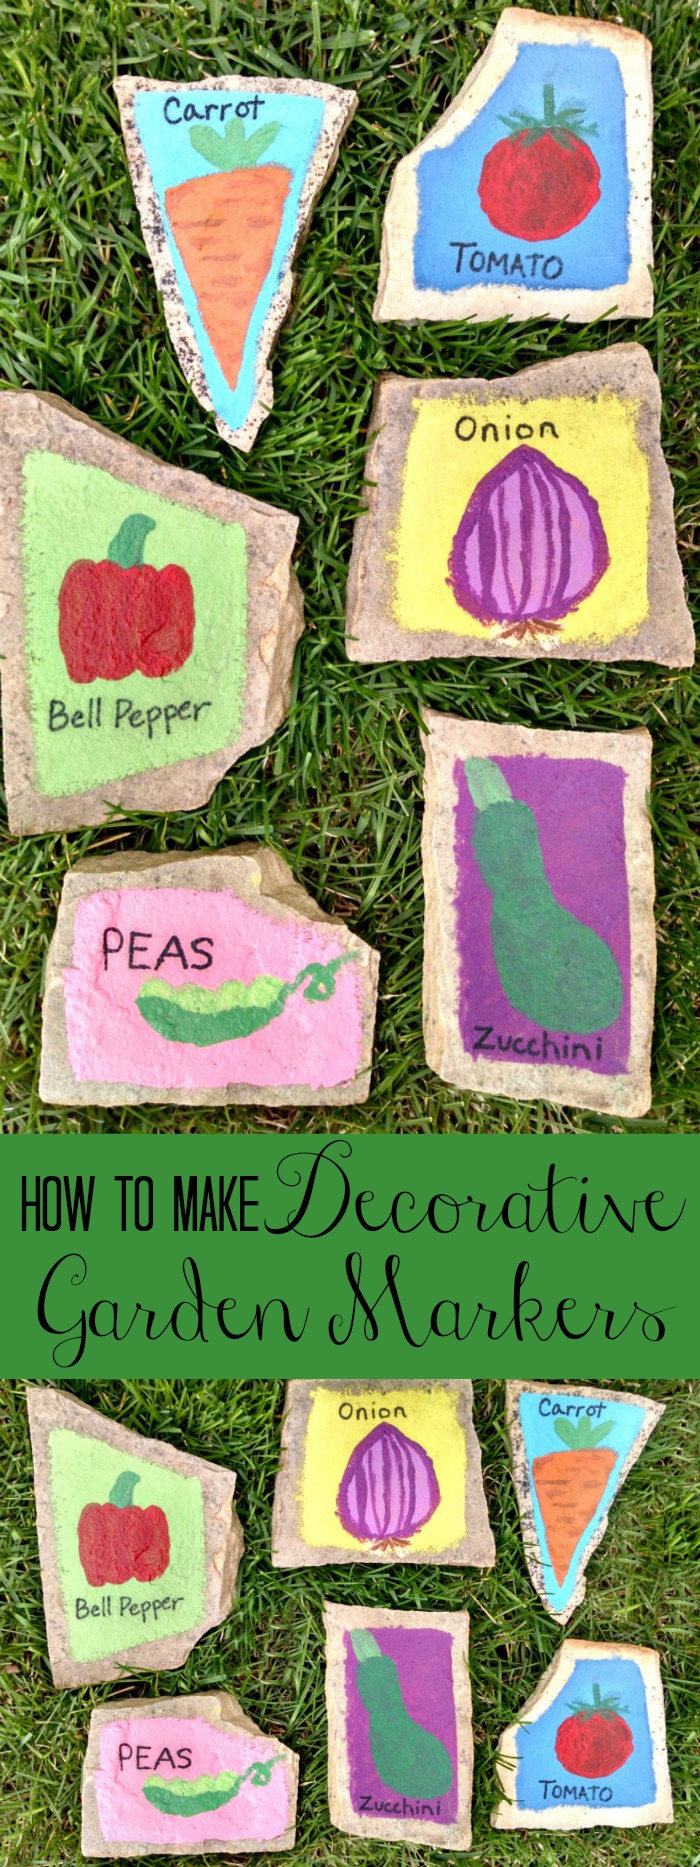
This year for Mother’s Day why not make a handmade gift for the special mom in your life that will make her think of you every time she works in her garden? Make her her very own set of decorative garden markers based on what veggies you know she loves to grow. These garden markers are bright and colorful, personalized, thoughtful, easy to make, and inexpensive.
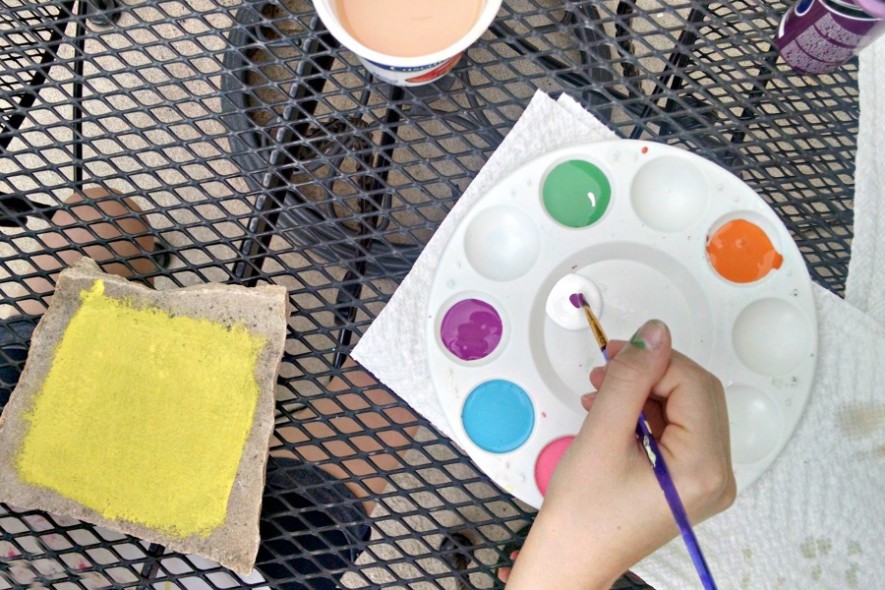
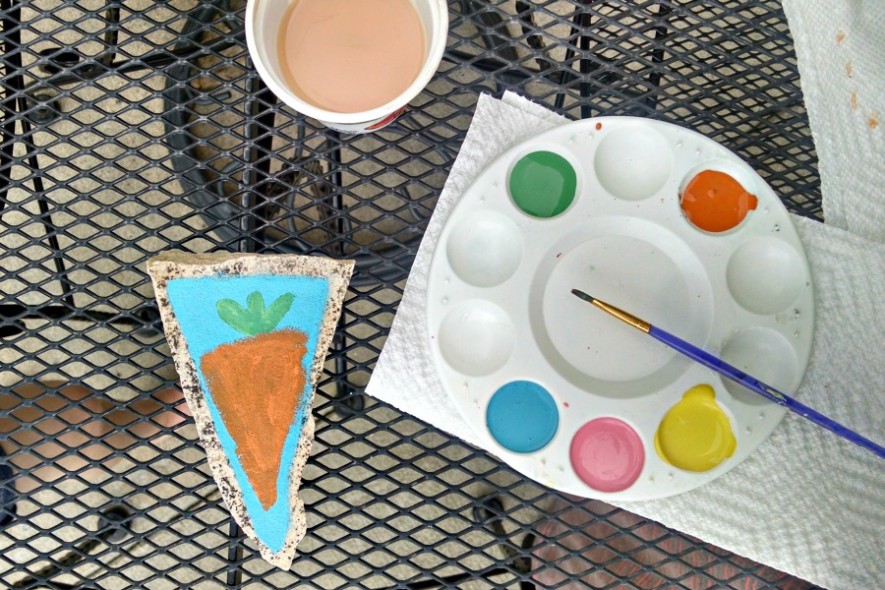
This is a kid friendly craft. The six garden markers we made were made almost entirely by an 8 year old and a 3 year old working together. They broke up the work by splitting it into two jobs. The 3 year old painted the background colors onto the rocks, and the 8 year old painted the vegetables onto the painted backgrounds. The only part that required adult help was applying the spray sealer to finish the rocks.
For rocks we used what we had available in our backyard. We’ve made a few changes to the backyard in recent years and have a pile of flagstone we’re not using so my girls and I looked for thinner pieces and used a hammer to break them up into smaller pieces. Each rock ended up being about 4-6 inches in either width or length. You can use any rock you have available to yo as long as it is big enough to paint a picture on.
Supplies Needed to Make Painted Decorative Garden Markers
Stones at least 3 inches across, one for each vegetable or plant you plan to paint
Craft paint
Clear spray sealer
Paint brushes
Paint pens (optional)
How to Make Painted Decorative Garden Markers
1. Wash rocks with a scrub brush and water to make sure they are clean.
2. Plan which veggies you want to paint on your rocks. We chose zucchini, tomato, bell pepper, onion, carrot, and peas.
3. Paint the background color on each rock and set it to dry. Once the background color is dry paint a veggie on each rock. If you would like to have the name of the veggie on the marker use a paint pen to write it out. Set the rocks aside to dry.
4. Following the instructions on your spray sealer spray multiple coats of sealant onto each rock to help ensure your painted design will last. Let the rocks dry completely.
What veggies or plants would you paint on some decorative garden markers?





4 comments
That is so cool idea. Perfect for my mom since she loves working in the garden. Thanks for sharing.:)
http://www.hugshomemade.com
Love this idea and they won’t blow away in the wind.
Very Interesting
OMG!!! these are SO cute!!! We did something similar last year with paint stirrers! I love the stones, they’ll last for years – such great memories!